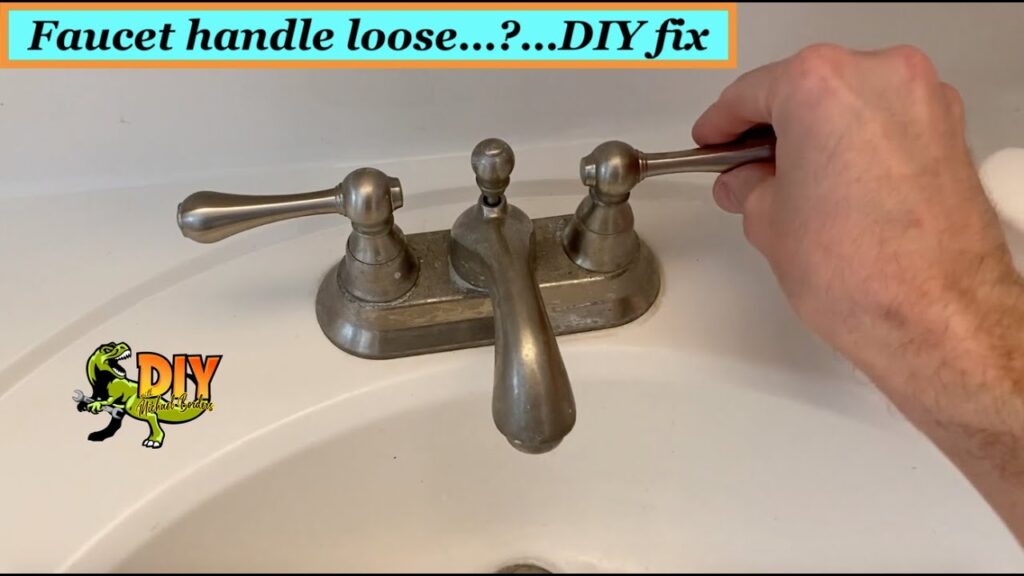
Stop the Wobble: Expert Guide to Fixing a Loose Faucet Base
A wobbly faucet isn’t just annoying; it can also lead to bigger problems like leaks, water damage, and even costly repairs. If you’re dealing with a loose faucet base, you’ve come to the right place. This comprehensive guide will walk you through the process of diagnosing the problem, gathering the necessary tools, and implementing effective solutions to restore stability and prevent future issues. We’ll cover everything from tightening mounting nuts to addressing corroded components, ensuring a long-lasting fix. This isn’t just a quick patch; it’s a deep dive into the mechanics of faucet installation and maintenance, providing you with the knowledge and confidence to tackle this common household repair like a pro.
Understanding the Anatomy of a Faucet and Why It Loosens
Before diving into the repair process, it’s crucial to understand the different parts of a faucet and how they contribute to its stability. Most faucets consist of the faucet body (the part you see above the sink), the mounting hardware (located beneath the sink), and the water supply lines. The mounting hardware, typically comprising mounting nuts, washers, and a mounting bracket, is responsible for securing the faucet to the sink or countertop. Over time, these components can loosen due to several factors:
- Vibrations: The constant use of the faucet, especially high water pressure, can create vibrations that gradually loosen the mounting nuts.
- Corrosion: Water exposure can lead to corrosion of the mounting hardware, weakening its grip and causing the faucet to wobble.
- Wear and Tear: Repeated use and temperature fluctuations can degrade the washers and other components, reducing their effectiveness.
- Improper Installation: A faucet that wasn’t properly installed in the first place is more likely to loosen over time.
Understanding these causes helps you not only fix the immediate problem but also take preventative measures to ensure long-term stability. Recognizing these factors is the first step towards a lasting solution for your loose faucet base.
Essential Tools and Materials for Faucet Repair
Having the right tools and materials on hand is essential for a successful faucet repair. Before you start, gather the following items:
- Basin Wrench: This specialized wrench is designed to reach and tighten mounting nuts in tight spaces under the sink.
- Adjustable Wrench: Useful for various tasks, including tightening supply line connections.
- Screwdrivers (Phillips and Flathead): For removing handles and accessing internal components.
- Penetrating Oil: To loosen corroded nuts and bolts.
- Plumber’s Putty or Silicone Caulk: To seal the base of the faucet and prevent water from seeping underneath.
- New Washers and Mounting Nuts: If the existing ones are damaged or corroded, replacing them is crucial.
- Clean Cloths or Sponges: For cleaning up spills and drying surfaces.
- Flashlight or Headlamp: To provide adequate lighting under the sink.
- Safety Glasses: To protect your eyes from debris.
- Gloves: To protect your hands from dirt and chemicals.
Investing in quality tools will make the job easier and more efficient. Before you begin, turn off the water supply to the faucet to prevent flooding. Locate the shut-off valves under the sink and turn them clockwise until they are completely closed. Test the faucet to ensure the water is off before proceeding.
Step-by-Step Guide to Tightening a Loose Faucet Base
Now that you have the tools and materials ready, let’s get to the actual repair. Follow these steps carefully to tighten your loose faucet base:
- Clear the Area Under the Sink: Remove any items stored under the sink to provide yourself with ample workspace.
- Locate the Mounting Nuts: These are typically located directly beneath the faucet base, underneath the sink. You may need to use a flashlight to see them clearly.
- Apply Penetrating Oil (If Necessary): If the mounting nuts are corroded or difficult to turn, spray them with penetrating oil and let it sit for 15-20 minutes to loosen them up.
- Tighten the Mounting Nuts: Use the basin wrench to tighten the mounting nuts. Be careful not to overtighten them, as this could damage the faucet or the sink. Aim for a snug fit that eliminates the wobble.
- Test the Faucet: Turn on the water supply and check for leaks around the base of the faucet. If you see any leaks, tighten the mounting nuts a bit more.
- Apply Plumber’s Putty or Silicone Caulk: To prevent water from seeping under the faucet base, apply a bead of plumber’s putty or silicone caulk around the perimeter of the base where it meets the sink or countertop. Smooth it out with your finger for a clean finish.
If tightening the mounting nuts doesn’t solve the problem, the washers may be worn out and need to be replaced. In this case, proceed to the next section.
Replacing Worn-Out Washers for a Secure Faucet Base
If simply tightening the mounting nuts doesn’t resolve the issue, the underlying problem might be worn-out washers. These washers provide a cushion between the faucet base and the sink, and when they degrade, the faucet can become loose. Here’s how to replace them:
- Disconnect the Water Supply Lines: Turn off the water supply to the faucet and disconnect the water supply lines using an adjustable wrench. Have a bucket handy to catch any residual water.
- Remove the Faucet: Carefully remove the faucet from the sink by unscrewing the mounting nuts completely.
- Inspect the Washers: Examine the washers for signs of wear, such as cracks, tears, or compression. If they look damaged, they need to be replaced.
- Replace the Washers: Install new washers of the same size and type. Ensure they are properly seated before reassembling the faucet.
- Reinstall the Faucet: Place the faucet back onto the sink and tighten the mounting nuts.
- Reconnect the Water Supply Lines: Reconnect the water supply lines and turn on the water supply. Check for leaks around the base of the faucet and the water supply connections.
Using high-quality replacement washers is crucial for a long-lasting repair. Consider using silicone washers, which are more durable and resistant to water damage than traditional rubber washers.
Addressing Corrosion: A Proactive Approach to Faucet Stability
Corrosion is a common enemy of plumbing fixtures, and it can significantly contribute to a loose faucet base. If you notice corrosion on the mounting hardware, it’s essential to address it promptly to prevent further damage and ensure the stability of your faucet. Here’s how:
- Identify Corroded Components: Carefully inspect the mounting nuts, washers, and mounting bracket for signs of corrosion, such as rust, discoloration, or pitting.
- Remove Corrosion: Use a wire brush or sandpaper to remove the corrosion from the affected components. For stubborn corrosion, you may need to use a rust remover product.
- Apply a Corrosion Inhibitor: After removing the corrosion, apply a corrosion inhibitor to protect the metal from future damage.
- Replace Severely Corroded Parts: If the corrosion is severe and has weakened the components, it’s best to replace them with new ones.
- Prevent Future Corrosion: To prevent future corrosion, keep the area under the sink dry and well-ventilated. Consider applying a waterproof sealant to the mounting hardware to protect it from water exposure.
Taking a proactive approach to corrosion prevention can significantly extend the lifespan of your faucet and prevent future problems with a loose base. Regular inspection and maintenance are key to keeping your plumbing fixtures in top condition.
When to Call a Plumber: Recognizing the Limits of DIY Repair
While many faucet repairs can be handled as DIY projects, there are situations where it’s best to call a licensed plumber. Attempting to fix complex plumbing problems without the necessary expertise can lead to further damage and costly repairs. Here are some signs that it’s time to call a professional:
- Extensive Corrosion: If the corrosion is widespread and has severely damaged multiple components, a plumber can assess the situation and recommend the best course of action.
- Persistent Leaks: If you’ve tried tightening the mounting nuts and replacing the washers, but the faucet continues to leak, there may be a more serious underlying problem.
- Damaged Plumbing: If you accidentally damage the water supply lines or other plumbing components during the repair process, it’s best to call a plumber to avoid further damage.
- Lack of Experience: If you’re not comfortable working with plumbing or you’re unsure about any part of the repair process, don’t hesitate to call a plumber. It’s better to be safe than sorry.
A qualified plumber has the knowledge, skills, and tools to diagnose and repair complex plumbing problems quickly and efficiently. They can also ensure that the repair is done correctly and up to code, giving you peace of mind.
Faucet Maintenance Tips for Long-Term Stability
Preventing a loose faucet base is always better than fixing one. Here are some maintenance tips to help keep your faucet stable and prevent future problems:
- Regularly Check the Mounting Nuts: Periodically check the mounting nuts under the sink to ensure they are tight. Tighten them as needed to prevent the faucet from loosening.
- Keep the Area Under the Sink Dry: Moisture can lead to corrosion and damage to the mounting hardware. Keep the area under the sink dry and well-ventilated.
- Avoid Over-Tightening: Overtightening the mounting nuts can damage the faucet or the sink. Tighten them only until they are snug.
- Use a Faucet Stabilizer: A faucet stabilizer is a device that provides additional support to the faucet base, preventing it from wobbling.
- Replace Worn-Out Washers Promptly: If you notice any signs of wear on the washers, replace them immediately to prevent the faucet from loosening.
Choosing the Right Faucet: A Foundation for Stability
The type of faucet you choose can also impact its long-term stability. When selecting a new faucet, consider the following factors:
- Material: Choose a faucet made from durable materials, such as solid brass or stainless steel. These materials are more resistant to corrosion and wear.
- Mounting Style: Deck-mounted faucets are generally more stable than wall-mounted faucets, as they have a wider base of support.
- Weight: A heavier faucet may be more stable, but it can also put more stress on the mounting hardware. Choose a faucet that is appropriately sized for your sink.
- Installation: Ensure the faucet is properly installed according to the manufacturer’s instructions. Improper installation can lead to a loose faucet base.
The Bottom Line: A Stable Faucet for a Worry-Free Home
Fixing a loose faucet base is a manageable task with the right tools, knowledge, and a bit of patience. By understanding the causes of faucet instability, following the step-by-step repair guide, and implementing preventative maintenance measures, you can restore stability and prevent future problems. Remember to prioritize safety, use quality materials, and don’t hesitate to call a plumber when needed. A stable faucet not only enhances the functionality of your kitchen or bathroom but also contributes to a worry-free home. So, roll up your sleeves, gather your tools, and get ready to tackle that wobbly faucet. You’ll be amazed at how satisfying it is to fix it yourself!
