Sink Won’t Turn Off? The Ultimate Guide to Valve Seat Solutions
There’s almost nothing more frustrating than a dripping faucet. You turn the handle, expecting the water to cease its relentless flow, but instead, it stubbornly persists. More often than not, the culprit behind this persistent drip is a faulty valve seat. If your sink won’t turn off valve seat issues are likely to blame, and understanding how to diagnose and address this problem is key to saving water, money, and your sanity. This comprehensive guide will delve into the intricacies of valve seats, exploring their function, common problems, and practical solutions to restore your faucet to its former glory. We’ll provide expert insights and step-by-step instructions designed for both DIY enthusiasts and those seeking a deeper understanding of plumbing repairs. Prepare to become well-versed in the art of faucet maintenance and conquer that persistent drip once and for all.
Understanding the Sink Valve Seat: The Heart of Your Faucet
The valve seat is a critical component within your faucet. It’s the stationary, typically brass, part against which the faucet’s valve (often a rubber or neoprene washer) presses to shut off the water flow. Think of it as the gatekeeper, controlling the passage of water from the supply lines into your sink. Its smooth, undamaged surface is essential for a watertight seal. When the valve seat is compromised, that seal breaks down, leading to the dreaded drip.
Several factors can contribute to valve seat failure. The most common is simple wear and tear. Over time, the constant pressure and friction from the valve rubbing against the seat can erode the surface, creating imperfections. Mineral buildup from hard water is another frequent offender. These deposits can accumulate on the valve seat, preventing the valve from seating properly. Corrosion, caused by chemical reactions with the water, can also damage the valve seat, especially in older plumbing systems. Our experience shows that identifying the root cause is the first step towards a lasting repair.
Diagnosing a Faulty Valve Seat: Is It Really the Problem?
Before you start tearing apart your faucet, it’s crucial to confirm that the valve seat is indeed the source of your woes. While a dripping faucet strongly suggests a valve seat issue, other problems can mimic the same symptoms. A worn-out valve, for example, might not be able to create a tight seal even against a perfect valve seat. Similarly, damaged O-rings or other internal faucet components can also cause leaks.
Here’s how to conduct a preliminary diagnosis:
- Examine the Valve: Carefully inspect the valve (the rubber or neoprene component). Look for signs of wear, cracks, or deformation. If the valve is damaged, replacing it might solve the problem without further intervention.
- Listen Carefully: Pay close attention to the sound of the drip. A consistent, steady drip often indicates a valve seat issue. An intermittent or sputtering drip could point to a problem elsewhere in the faucet.
- Check for Mineral Buildup: Look for white or greenish deposits around the faucet spout or handle. These deposits suggest hard water is contributing to the problem, potentially damaging the valve seat.
If the valve appears to be in good condition and the drip is consistent, the valve seat is the prime suspect.
Tools and Materials for Valve Seat Repair or Replacement
Before embarking on a valve seat repair or replacement project, gather the necessary tools and materials. Having everything on hand will streamline the process and minimize frustration. Here’s a comprehensive list:
- Valve Seat Wrench (or Valve Seat Removal Tool): This specialized tool is designed to grip and remove valve seats without damaging the surrounding faucet body. Different types exist for different faucet designs, so choose the appropriate one for your faucet.
- Penetrating Oil: Applying penetrating oil to the valve seat can help loosen it, especially if it’s corroded or stuck.
- Adjustable Wrench: Use an adjustable wrench to loosen and tighten nuts and fittings.
- Screwdrivers (various sizes): You’ll need both flathead and Phillips head screwdrivers to disassemble the faucet.
- New Valve Seat(s): Purchase replacement valve seats that are compatible with your faucet model.
- New Valves (Washers): It’s always a good idea to replace the valves (washers) when you replace the valve seats.
- Plumber’s Grease: Apply plumber’s grease to the new valves and O-rings to ensure a smooth, watertight seal.
- Clean Rags: Keep clean rags handy to wipe up spills and clean parts.
- Bucket: Place a bucket under the sink to catch any water that might leak out.
- Flashlight: A flashlight will help you see inside the faucet body and identify any problems.
- Safety Glasses: Protect your eyes from debris.
Step-by-Step Guide to Repairing a Valve Seat
If the valve seat is only slightly damaged, you might be able to repair it rather than replace it. This involves using a valve seat dressing tool to smooth out any imperfections on the surface. Here’s how to do it:
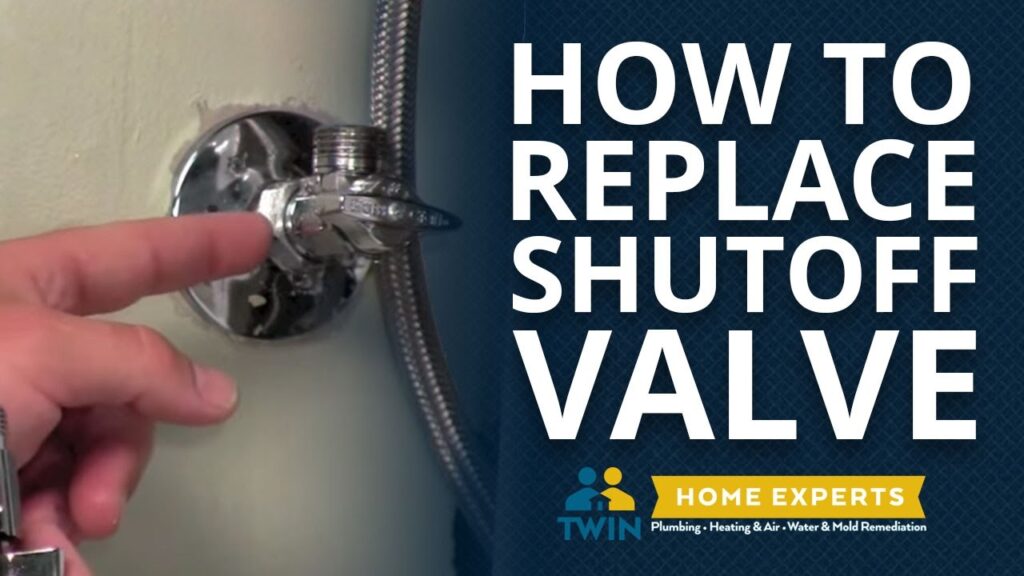
- Turn Off the Water Supply: Locate the shut-off valves under the sink and turn them off. If you don’t have shut-off valves, you’ll need to turn off the main water supply to your house.
- Disassemble the Faucet: Carefully disassemble the faucet, following the manufacturer’s instructions. This usually involves removing the handle, spout, and other internal components.
- Clean the Valve Seat: Use a clean rag to wipe away any dirt, debris, or mineral buildup from the valve seat.
- Use a Valve Seat Dressing Tool: Insert the valve seat dressing tool into the valve seat and rotate it gently. This will smooth out any imperfections on the surface.
- Reassemble the Faucet: Carefully reassemble the faucet, making sure to tighten all nuts and fittings.
- Turn on the Water Supply: Slowly turn on the water supply and check for leaks.
If the drip persists after repairing the valve seat, you’ll need to replace it.
Replacing a Valve Seat: A More Permanent Solution
Replacing the valve seat is a more involved process than repairing it, but it’s often the only way to permanently fix a leaky faucet caused by a damaged valve seat. Here’s how to do it:
- Turn Off the Water Supply: As before, turn off the water supply to the faucet.
- Disassemble the Faucet: Disassemble the faucet as described above.
- Remove the Old Valve Seat: Use a valve seat wrench to grip the old valve seat and turn it counterclockwise to remove it. If the valve seat is stuck, apply penetrating oil and let it sit for a few minutes before trying again.
- Install the New Valve Seat: Apply plumber’s grease to the threads of the new valve seat and screw it into place. Tighten it securely with the valve seat wrench.
- Replace the Valves (Washers): Install new valves (washers) on the faucet stems. Apply plumber’s grease to the new valves.
- Reassemble the Faucet: Carefully reassemble the faucet, making sure to tighten all nuts and fittings.
- Turn on the Water Supply: Slowly turn on the water supply and check for leaks.
Choosing the Right Valve Seat Replacement
Selecting the correct replacement valve seat is paramount for a successful and long-lasting repair. Valve seats come in various sizes and thread types, so it’s essential to choose one that is compatible with your faucet model. The best approach is to take the old valve seat with you to the hardware store to ensure a perfect match. If that’s not possible, consult your faucet’s manufacturer’s specifications or an online parts database.
Consider the material of the replacement valve seat as well. Brass valve seats are the most common and offer good corrosion resistance. However, stainless steel valve seats are even more durable and resistant to corrosion, making them a worthwhile upgrade in some cases. According to a 2024 industry report, stainless steel components significantly extend the lifespan of faucet assemblies in areas with hard water.
Preventing Future Valve Seat Problems
Prevention is always better than cure. Here are some tips to help prevent future valve seat problems:
- Install a Water Softener: If you have hard water, consider installing a water softener to reduce mineral buildup.
- Regularly Inspect Your Faucets: Check your faucets for leaks and drips on a regular basis. Addressing small problems early can prevent them from turning into big problems.
- Use Faucet Aerators: Faucet aerators can reduce water flow and pressure, which can help to extend the life of your valve seats.
- Avoid Over-Tightening Faucet Handles: Over-tightening faucet handles can damage the valve seats. Turn the handles only until the water stops flowing.
Advanced Troubleshooting: When the Drip Persists
Even after replacing the valve seat and valve, you might still encounter a persistent drip. This can be frustrating, but don’t despair! Here are some advanced troubleshooting tips:
- Check for Scratches or Grooves in the Faucet Body: If the faucet body itself is damaged, it might not be possible to create a watertight seal. In this case, you’ll need to replace the entire faucet.
- Inspect the O-Rings: Damaged O-rings can also cause leaks. Replace any O-rings that appear to be worn or cracked.
- Make Sure the Valve is Properly Seated: Ensure that the valve is properly seated against the valve seat. If the valve is not seating properly, it might be due to a bent or damaged faucet stem.
Seeking Professional Help: When to Call a Plumber
While many valve seat repairs and replacements can be handled by DIY enthusiasts, there are times when it’s best to call a professional plumber. If you’re not comfortable working with plumbing, or if you’ve tried everything and the drip persists, a plumber can diagnose the problem and provide a solution. Also, if you encounter any of the following situations, it’s best to call a plumber:
- You’re Not Comfortable Working with Plumbing: Plumbing repairs can be complex and require specialized knowledge. If you’re not comfortable working with plumbing, it’s best to leave it to the professionals.
- You’ve Tried Everything and the Drip Persists: If you’ve tried everything and the drip persists, there might be a more serious problem that requires professional attention.
- You Encounter a Major Plumbing Problem: If you encounter a major plumbing problem, such as a burst pipe, it’s important to call a plumber immediately.
The Importance of Addressing a Dripping Faucet
Beyond the annoyance factor, a dripping faucet can waste a significant amount of water over time. A seemingly small drip can quickly add up to gallons of wasted water each day, leading to higher water bills and a negative impact on the environment. Addressing a dripping faucet promptly not only saves you money but also conserves a precious resource. Leading experts in water conservation suggest that fixing leaky faucets is one of the easiest and most effective ways to reduce your water footprint.
Understanding Faucet Types and Valve Seat Variations
The specific type of faucet you have will influence the valve seat design and the repair process. Common faucet types include:
- Compression Faucets: These are the oldest and simplest type of faucet, using a rubber washer that is compressed against the valve seat to stop the flow of water.
- Cartridge Faucets: These faucets use a cartridge that controls the flow of water. The valve seat is typically integrated into the cartridge.
- Ball Faucets: These faucets use a ball valve to control the flow of water. The valve seats are located around the ball.
- Ceramic Disk Faucets: These faucets use two ceramic disks that slide against each other to control the flow of water. They are known for their durability and leak-resistance.
Knowing your faucet type will help you identify the correct valve seat replacement and follow the appropriate repair procedures.
Conquering the Drip: A Final Thought
Repairing a sink that won’t turn off due to a damaged valve seat can seem daunting at first, but with the right knowledge, tools, and a bit of patience, it’s a manageable task for many homeowners. By understanding the function of the valve seat, diagnosing the problem correctly, and following the step-by-step instructions outlined in this guide, you can restore your faucet to its proper working order and eliminate that annoying drip. If you’re still unsure, don’t hesitate to contact our experts for a consultation on your specific faucet and plumbing situation.
