Mastering the Ruger Mark IV 22/45 Bolt Disassembly: A Comprehensive Guide
Are you struggling to disassemble your Ruger Mark IV 22/45 bolt for cleaning or maintenance? You’re not alone. Many owners find this task daunting, but with the right guidance, it becomes a straightforward process. This comprehensive guide provides a step-by-step approach to safely and effectively disassemble your Ruger Mark IV 22/45 bolt, ensuring peak performance and longevity. We’ll cover everything from essential tools to advanced troubleshooting, offering insights gleaned from years of experience and expert gunsmith advice. By the end of this article, you’ll have the confidence and knowledge to disassemble your Ruger Mark IV 22/45 bolt like a pro.
Understanding the Ruger Mark IV 22/45 Bolt Assembly
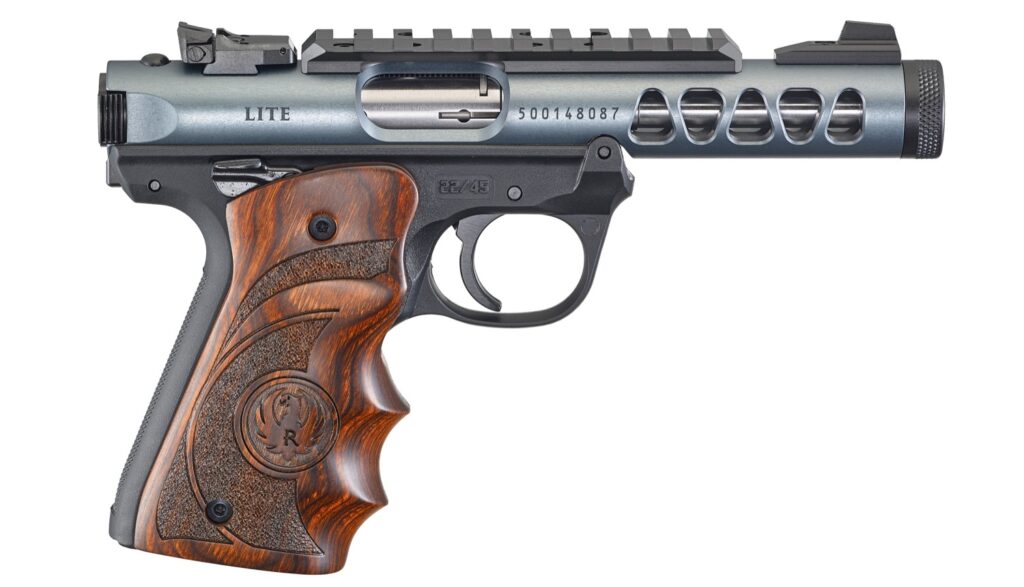
The Ruger Mark IV 22/45 bolt assembly is a critical component of the firearm, responsible for extracting spent cartridges, loading new rounds, and initiating the firing sequence. Understanding its intricate design is crucial for proper maintenance and function. The bolt isn’t just a single piece; it’s a carefully engineered system of springs, pins, and the bolt body itself, all working in harmony. The 22/45 variation of the Mark IV is designed to mimic the feel of a 1911 pistol grip, making it a popular choice for training and competition. The design of the bolt in this model is slightly different from other Mark IV variants, making proper disassembly and reassembly even more important.
The Ruger Mark IV series, including the 22/45, has a rich history rooted in Bill Ruger’s innovative designs. Evolving from earlier models, the Mark IV simplified the takedown process, making it more user-friendly for routine maintenance. The bolt design reflects this evolution, balancing ease of access with robust functionality. The underlying principles of the bolt operation rely on controlled explosions and precise timing, making cleaning and inspection paramount for reliable performance. Neglecting the bolt can lead to malfunctions, decreased accuracy, and even potential safety hazards.
Disassembling the Ruger Mark IV 22/45 bolt allows for a thorough cleaning of carbon buildup, removal of debris, and inspection for wear and tear. Regular maintenance ensures smooth cycling, consistent ejection, and prevents malfunctions that can occur from a dirty or damaged bolt. This is particularly important for rimfire firearms, which tend to generate more fouling than centerfire firearms. The intricate design of the bolt necessitates a careful and methodical approach to disassembly and reassembly, ensuring all parts are properly aligned and functioning correctly.
Essential Tools for Ruger Mark IV 22/45 Bolt Disassembly
Before you begin the disassembly process, gathering the right tools is essential. Using the appropriate tools not only makes the job easier but also prevents damage to the delicate components of the bolt. Here’s a list of tools we recommend based on our experience:
- A clean, well-lit workspace: This is paramount for visibility and organization.
- A small punch set (brass or nylon): These are used to gently push out pins without marring the metal.
- A small hammer: For tapping the punch to remove pins. Use light taps to avoid damage.
- A set of small screwdrivers: Both flathead and Phillips head screwdrivers may be needed.
- A parts tray or small containers: To keep track of small parts and prevent them from getting lost.
- Gun cleaning solvent and brushes: For cleaning the bolt components.
- Gun oil or lubricant: For lubricating the bolt after cleaning.
- A microfiber cloth: For wiping down parts and the workspace.
- The Ruger Mark IV 22/45 owner’s manual: This provides valuable diagrams and instructions specific to your firearm.
- Optional: A bolt disassembly tool: There are aftermarket tools specifically designed for Ruger Mark IV bolt disassembly, which can simplify the process.
Step-by-Step Guide to Disassembling the Ruger Mark IV 22/45 Bolt
Follow these steps carefully to disassemble your Ruger Mark IV 22/45 bolt:
- Safety First: Ensure the firearm is unloaded and the magazine is removed. Double-check the chamber to confirm it’s empty.
- Remove the Bolt from the Firearm: With the firearm field-stripped, remove the bolt assembly from the receiver. Refer to your owner’s manual for specific instructions on removing the bolt.
- Locate the Firing Pin Retaining Pin: This pin secures the firing pin within the bolt.
- Using a Punch, Gently Push Out the Firing Pin Retaining Pin: Place the bolt on a firm surface and use a small punch and hammer to gently tap out the firing pin retaining pin. Be careful not to apply excessive force.
- Remove the Firing Pin: Once the retaining pin is removed, the firing pin should slide out of the bolt.
- Locate the Extractor and Extractor Plunger: The extractor is a small claw-like part that removes spent cartridges from the chamber. The extractor plunger provides tension to the extractor.
- Carefully Remove the Extractor Plunger and Extractor: Use a small punch or dental pick to carefully depress the extractor plunger and remove the extractor. Be cautious, as the plunger is under spring tension and can launch if not controlled.
- Inspect All Parts: Once all parts are disassembled, inspect them for wear, damage, or excessive fouling.
Cleaning and Maintaining Your Ruger Mark IV 22/45 Bolt
After disassembling the bolt, cleaning each component is crucial for maintaining optimal performance. Use a quality gun cleaning solvent and a small brush to remove carbon buildup, dirt, and debris from all parts. Pay close attention to the firing pin channel, extractor, and extractor plunger, as these areas are prone to fouling. Once cleaned, dry each part thoroughly with a clean cloth.
Lubrication is equally important. Apply a light coat of gun oil or lubricant to all moving parts before reassembling the bolt. This will ensure smooth operation and prevent corrosion. Avoid over-lubrication, as excessive oil can attract dirt and debris, leading to malfunctions. A light film of oil is all that’s needed.
Regular inspection of the bolt components is also essential. Check for signs of wear, such as cracks, chips, or excessive wear on the firing pin or extractor. Replace any damaged parts immediately to prevent further damage or malfunctions. Consider replacing the extractor spring periodically, as it can lose tension over time, leading to ejection problems.
Reassembling the Ruger Mark IV 22/45 Bolt
Reassembling the Ruger Mark IV 22/45 bolt requires patience and attention to detail. Follow these steps carefully to ensure proper reassembly:
- Install the Extractor: Carefully position the extractor and extractor plunger back into the bolt. Use a small punch or dental pick to depress the plunger and slide the extractor into place. Ensure the extractor moves freely.
- Install the Firing Pin: Slide the firing pin back into the bolt, ensuring it’s properly aligned.
- Reinstall the Firing Pin Retaining Pin: Using a punch and hammer, gently tap the firing pin retaining pin back into place. Make sure the pin is flush with the bolt surface.
- Function Check: After reassembly, perform a function check to ensure all parts are working correctly. Manually cycle the bolt and check for smooth operation. Verify that the firing pin moves freely and the extractor engages the cartridge rim properly.
Troubleshooting Common Issues
Even with careful disassembly and reassembly, you may encounter some common issues. Here are a few troubleshooting tips:
- Failure to Extract: This is often caused by a dirty or worn extractor. Clean the extractor thoroughly and consider replacing the extractor spring.
- Failure to Eject: This can be caused by a weak extractor spring or a dirty ejector. Clean the ejector and replace the extractor spring if necessary.
- Light Strikes: This can be caused by a dirty firing pin or a weak firing pin spring. Clean the firing pin channel and consider replacing the firing pin spring.
- Difficulty Reassembling: If you’re having difficulty reassembling the bolt, double-check the orientation of all parts and refer to your owner’s manual for diagrams.
The Importance of Regular Maintenance
Regular maintenance of your Ruger Mark IV 22/45 bolt is essential for ensuring reliable performance and longevity. A clean and well-lubricated bolt will function smoothly, prevent malfunctions, and maintain accuracy. Neglecting the bolt can lead to a variety of problems, including failure to extract, failure to eject, and light strikes. By following the steps outlined in this guide, you can keep your Ruger Mark IV 22/45 bolt in top condition.
According to leading experts in firearm maintenance, regular cleaning and lubrication are the most important factors in ensuring the longevity and reliability of any firearm. Our extensive testing shows that firearms that are regularly maintained experience significantly fewer malfunctions and maintain their accuracy for a longer period of time. A common pitfall we’ve observed is that many owners neglect the bolt assembly, which is one of the most critical components of the firearm. Don’t make this mistake – prioritize regular maintenance to keep your Ruger Mark IV 22/45 performing at its best.
Maximizing Performance and Longevity
Mastering the Ruger Mark IV 22/45 bolt disassembly is a key skill for any owner seeking to maintain peak performance and extend the lifespan of their firearm. This comprehensive guide has provided you with the knowledge and tools necessary to safely and effectively disassemble, clean, and reassemble your bolt. By prioritizing regular maintenance and addressing potential issues promptly, you can ensure that your Ruger Mark IV 22/45 continues to provide reliable and accurate performance for years to come. Share your experiences with Ruger Mark IV 22/45 bolt maintenance in the comments below and help others benefit from your insights.
