Mastering the Art of Skull Drawing: A Comprehensive Guide
Have you ever been captivated by the stark beauty and intricate detail of a skull drawing? Whether you’re a seasoned artist looking to refine your skills or a beginner eager to explore this fascinating subject, this comprehensive guide will provide you with the knowledge and techniques you need to create stunning skull drawings. We’ll delve into the anatomical nuances, explore various artistic approaches, and equip you with the tools to bring your artistic vision to life. This isn’t just another tutorial; it’s a deep dive into the art of skull drawing, designed to elevate your understanding and skill.
Understanding Skull Anatomy for Accurate Drawings
Before putting pencil to paper, it’s crucial to understand the underlying structure of the skull. This isn’t about becoming a medical expert, but rather about gaining a working knowledge of the key anatomical features that define its shape and form. This understanding will allow you to create more realistic and compelling skull drawings.
Key Anatomical Features
The skull is comprised of several bones fused together. Key areas to focus on include:
- Cranium: The upper part of the skull that protects the brain. Observe its overall roundness and the subtle curves that define its shape.
- Mandible (Jawbone): The lower jaw, responsible for movement. Pay attention to its hinge point and how it connects to the cranium.
- Orbits (Eye Sockets): The bony cavities that house the eyes. Notice their shape and how they recede into the skull.
- Nasal Aperture: The opening for the nose. Its shape and size vary, influencing the overall character of the skull.
- Maxilla: The upper jaw, which forms part of the face.
- Zygomatic Bone (Cheekbone): Important for conveying the width and shape of the face.
Proportions and Ratios
Understanding the proportions and ratios of the skull is essential for accurate representation. A classic guideline is to divide the skull into thirds horizontally: the forehead, the nose, and the area from the nose to the chin. However, remember that these are just guidelines, and individual skulls can vary. Careful observation is key to capturing the unique characteristics of each subject.
Simplifying the Form
For beginners, it can be helpful to simplify the skull into basic geometric shapes. Think of the cranium as a sphere, the jaw as a rectangle, and the eye sockets as circles. By mastering these basic shapes, you can gradually build up the complexity of the skull drawing.
Essential Tools and Materials for Skull Drawing
While artistic talent is important, having the right tools can significantly enhance your drawing experience and the quality of your work. Here’s a rundown of essential materials for skull drawing:
- Pencils: A range of graphite pencils (e.g., HB, 2B, 4B, 6B) allows you to create different values and textures.
- Paper: Smooth paper is ideal for detailed drawings, while textured paper can add character and depth.
- Eraser: A kneaded eraser is excellent for lifting graphite and creating subtle highlights. A harder plastic eraser is useful for removing darker lines.
- Blending Stumps or Tortillions: These tools help blend graphite and create smooth transitions.
- Ruler: Useful for establishing proportions and creating accurate guidelines.
- Reference Images: High-quality reference images are crucial for accurate representation.
- Drawing Board or Easel: Provides a stable and comfortable surface to work on.
Step-by-Step Guide to Drawing a Skull
Let’s break down the process of skull drawing into manageable steps:
- Establish Basic Shapes: Start by sketching the basic shapes of the cranium and jaw using light pencil strokes. Focus on getting the overall proportions correct.
- Refine the Form: Gradually refine the shapes, paying attention to the anatomical features of the skull. Use your reference images to guide you.
- Add Details: Once you’re happy with the overall form, start adding details such as the eye sockets, nasal aperture, and teeth.
- Shading and Value: Use different grades of pencils to create shading and value. Pay attention to the light source and how it affects the form of the skull.
- Highlights and Shadows: Add highlights and shadows to create depth and dimension. Use your eraser to lift graphite and create highlights.
- Refine and Finalize: Take a step back and assess your drawing. Make any necessary adjustments and refine the details.
Advanced Techniques for Skull Drawing
Once you’ve mastered the basics, you can explore more advanced techniques to elevate your skull drawings:
Cross-Hatching
Cross-hatching involves using intersecting lines to create value and texture. This technique can be used to create a sense of depth and realism.
Stippling
Stippling involves using small dots to create value and texture. This technique is time-consuming but can produce stunning results.
Rendering
Rendering involves creating smooth transitions between values to create a realistic effect. This technique requires practice and patience.
Using Light and Shadow
Understanding how light and shadow interact with the form of the skull is crucial for creating realistic drawings. Pay attention to the light source and how it affects the highlights and shadows.
Exploring Different Artistic Styles in Skull Drawing
Skull drawing isn’t confined to realism. There are countless artistic styles you can explore to express your creativity:
- Realism: Aiming for accurate representation of the skull’s anatomy and details.
- Stylized: Simplifying or exaggerating certain features for artistic effect.
- Cartoonish: Using exaggerated proportions and simplified details for a humorous or whimsical look.
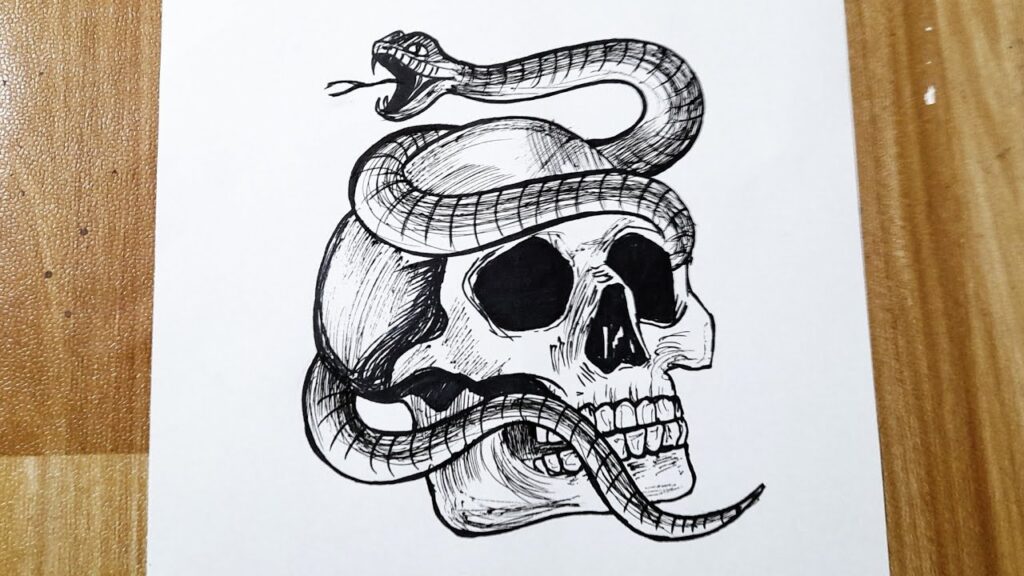
- Gothic: Incorporating dark and dramatic elements to create a macabre or haunting atmosphere.
- Surreal: Combining the skull with unexpected elements to create a dreamlike or fantastical image.
The Significance and Symbolism of Skull Drawings
Throughout history, the skull has been a powerful symbol, representing mortality, death, and the ephemeral nature of life. In art, skull drawings can serve as memento mori, reminders of our own mortality, or as symbols of rebellion, defiance, and the transience of earthly existence. Understanding the symbolism behind the skull can add depth and meaning to your own drawings.
Skull Reference Photos: A Critical Tool for Accuracy
Reliable reference photos are indispensable for creating accurate and compelling skull drawings. While imagination is valuable, grounding your work in reality ensures anatomical correctness and enhances the overall impact. Look for photos that provide clear views from multiple angles, showcasing the subtle contours and details of the skull. Sites like Sketchfab offer 3D models that can be rotated, offering an even deeper understanding of the form. Remember, even stylized drawings benefit from a foundation of anatomical knowledge gleaned from reference.
Common Mistakes to Avoid in Skull Drawing
Even experienced artists can fall into common traps when drawing skulls. Here are some pitfalls to watch out for:
- Incorrect Proportions: Failing to accurately represent the proportions of the skull can result in a distorted or unrealistic drawing.
- Lack of Detail: Omitting key details can make the skull look generic and unconvincing.
- Ignoring Light and Shadow: Not paying attention to light and shadow can flatten the form and make the drawing look two-dimensional.
- Over-Reliance on Outlines: Relying too heavily on outlines can make the drawing look flat and lifeless. Instead, focus on using shading and value to define the form.
- Symmetrical Errors: While the skull appears symmetrical, subtle asymmetries exist. Ignoring these can make the drawing look artificial.
Digital Skull Drawing: A Modern Approach
While traditional drawing techniques remain valuable, digital art offers a powerful alternative for skull drawing. Software like Procreate, Adobe Photoshop, and Corel Painter provide a vast array of tools and features for creating stunning digital artwork. Digital drawing allows for easy experimentation, correction, and sharing of your work. Furthermore, the ability to use layers, blending modes, and custom brushes opens up a world of creative possibilities.
Drawing Skulls with Depth and Dimension
Creating the illusion of depth and dimension is crucial for any successful skull drawing. This involves understanding perspective, foreshortening, and the interplay of light and shadow. Use tonal variations strategically to suggest the curvature of the skull and the recession of its features. Pay close attention to how light wraps around the form, creating highlights on protruding areas and deep shadows in recessed areas. Experiment with atmospheric perspective, making distant parts of the skull appear softer and less detailed than those closer to the viewer.
The Enduring Appeal of Skull Art
The skull remains a potent and evocative symbol in art and culture, continuing to inspire artists and captivate audiences. By mastering the art of skull drawing, you not only develop your artistic skills but also tap into a rich and enduring tradition. Whether you’re drawn to the skull’s symbolism, its anatomical intricacies, or its aesthetic appeal, this guide has provided you with the knowledge and tools to create your own compelling skull drawings. So, grab your pencils, gather your references, and embark on your artistic journey!
