Kia K5 Spoiler Installation: A Comprehensive Guide
Adding a spoiler to your Kia K5 can dramatically enhance its sporty aesthetic and potentially improve aerodynamics. However, a poorly installed spoiler can detract from the car’s appearance and even cause damage. This comprehensive guide provides detailed spoiler install instructions for Kia K5 models, ensuring a professional-looking and secure installation. We’ll cover everything from selecting the right spoiler to the step-by-step installation process, equipping you with the knowledge and confidence to tackle this project yourself or make an informed decision when hiring a professional.
This guide aims to go beyond basic instructions. We delve into the nuances of spoiler types, surface preparation, adhesive selection, and precise drilling techniques, all tailored specifically for the Kia K5. Our goal is to provide a resource that not only helps you install a spoiler but also educates you on the best practices to ensure a long-lasting and visually appealing result. We’ve drawn on expert advice and real-world experience to create this definitive guide.
Understanding Spoilers and Your Kia K5
Before diving into the installation process, it’s crucial to understand the different types of spoilers available for the Kia K5 and their potential impact. Spoilers aren’t just for looks; they can also influence your vehicle’s handling at higher speeds.
A spoiler, in its simplest form, is an aerodynamic device designed to disrupt airflow. It’s typically mounted on the rear of a vehicle to reduce lift, which can improve stability and handling, especially at higher speeds. While the actual aerodynamic benefits on a Kia K5 for daily driving might be minimal, the aesthetic impact is undeniable. Choosing the right spoiler style to match your K5’s trim and overall look is essential.
There are several spoiler styles available for the Kia K5, including:
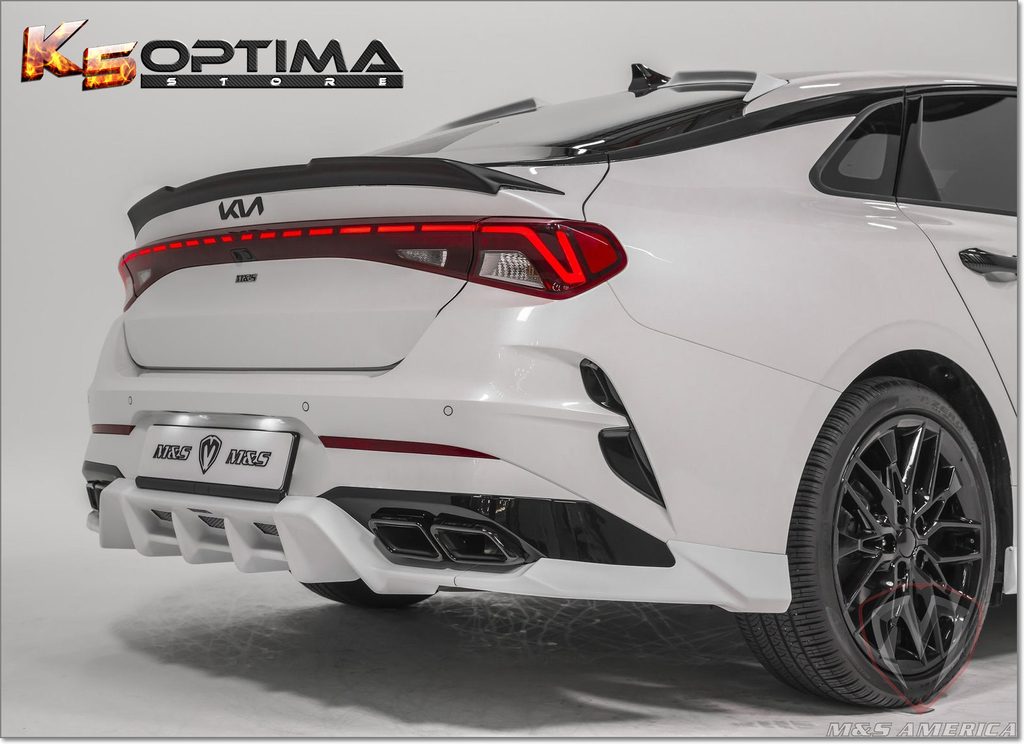
- Lip Spoilers: These are subtle, low-profile spoilers that attach to the trunk lid’s edge. They offer a clean, understated look.
- Wing Spoilers: These are larger, more aggressive spoilers that create a more dramatic appearance. They often require drilling into the trunk lid.
- Deck Lid Spoilers: These spoilers sit flush on the trunk lid and usually have a more pronounced curve than lip spoilers.
The material of the spoiler also matters. Common materials include:
- ABS Plastic: A durable and affordable option, often pre-painted to match factory colors.
- Polyurethane: More flexible than ABS plastic, making it more resistant to cracking.
- Carbon Fiber: Lightweight and strong, offering a high-performance look. Typically more expensive.
Selecting the right spoiler depends on your personal preferences, budget, and desired aesthetic. Ensure that the spoiler you choose is specifically designed for the Kia K5 to guarantee a proper fit.
Essential Tools and Materials for Spoiler Installation
Proper preparation is key to a successful spoiler installation. Gathering the necessary tools and materials beforehand will streamline the process and minimize potential errors. Here’s a comprehensive list:
- Spoiler Kit: Includes the spoiler itself, mounting hardware (screws, bolts, washers), and possibly adhesive tape.
- Measuring Tape: For accurate placement and alignment.
- Masking Tape: To protect the paint and mark drilling locations.
- Isopropyl Alcohol: For cleaning and degreasing the surface.
- Clean Microfiber Cloths: For wiping surfaces and applying adhesive promoter.
- Adhesive Promoter: To improve the adhesion of the tape.
- Drill with Drill Bits: For drilling mounting holes (if required). Use appropriately sized bits for the screws/bolts provided.
- Deburring Tool or File: To smooth the edges of drilled holes.
- Socket Set or Wrenches: For tightening mounting hardware.
- Screwdriver Set: For installing screws.
- Silicone Sealant (Optional): For sealing around mounting holes to prevent water leaks.
- Heat Gun or Hair Dryer (Optional): To warm the adhesive tape for better adhesion.
- Safety Glasses: To protect your eyes from debris.
- Gloves: To protect your hands.
Investing in quality tools will make the installation process easier and more precise. Don’t skimp on essentials like a good drill and accurate measuring tools. If you are not comfortable drilling into your car, it is best to have a professional install the spoiler.
Step-by-Step Spoiler Installation Instructions for Kia K5
Now, let’s get into the detailed installation process. These instructions are a general guideline, and you should always refer to the specific instructions provided with your spoiler kit. This guide assumes you are installing a spoiler that requires drilling. If your spoiler uses only adhesive, skip the drilling steps.
- Preparation:
- Thoroughly clean the trunk lid surface with soap and water, followed by isopropyl alcohol. Remove any wax, grease, or dirt.
- Dry the surface completely with a clean microfiber cloth.
- Test fit the spoiler to determine the exact placement. Use masking tape to mark the spoiler’s outline on the trunk lid.
- Marking Drilling Locations:
- Using the spoiler as a template, mark the locations for the mounting holes on the masking tape. Ensure the marks are accurate and symmetrical.
- Double-check the measurements to avoid drilling in the wrong place.
- Drilling the Holes:
- Use a center punch to create a small indentation at each marked location. This will help prevent the drill bit from wandering.
- Start with a small drill bit (e.g., 1/8 inch) to create pilot holes.
- Gradually increase the drill bit size until you reach the required diameter for the mounting hardware.
- Drill slowly and carefully, applying even pressure.
- After drilling, use a deburring tool or file to smooth the edges of the holes.
- Applying Adhesive Promoter (if applicable):
- If your spoiler kit includes adhesive promoter, apply it to the areas where the adhesive tape will contact the trunk lid.
- Allow the promoter to dry for the recommended time (usually a few minutes).
- Installing the Spoiler:
- Remove the backing from the adhesive tape on the spoiler.
- Carefully align the spoiler with the marked outline on the trunk lid.
- Press the spoiler firmly onto the trunk lid, ensuring full contact with the adhesive tape.
- Install the mounting hardware (screws, bolts, washers) through the drilled holes.
- Tighten the hardware gradually, alternating between the different mounting points to ensure even pressure.
- Do not overtighten the hardware, as this could damage the spoiler or the trunk lid.
- Sealing the Holes (Optional):
- Apply a small amount of silicone sealant around the mounting holes on the underside of the trunk lid to prevent water leaks.
- Smooth the sealant with your finger or a small tool.
- Final Touches:
- Remove any excess adhesive or sealant with a clean cloth.
- Inspect the installation to ensure the spoiler is securely mounted and properly aligned.
- Allow the adhesive to cure for the recommended time (usually 24-48 hours) before washing the car.
Important Note: Always consult the specific instructions included with your spoiler kit, as the installation process may vary depending on the spoiler type and manufacturer.
Troubleshooting Common Spoiler Installation Issues
Even with careful planning and execution, you might encounter some common issues during spoiler installation. Here’s a troubleshooting guide to help you resolve them:
- Spoiler Not Aligning Properly:
- Double-check your measurements and markings.
- Loosen the mounting hardware and try to reposition the spoiler.
- If the holes are slightly misaligned, you may need to enlarge them slightly with a drill bit.
- Adhesive Tape Not Sticking:
- Ensure the surface is clean and free of wax, grease, or dirt.
- Apply adhesive promoter to improve adhesion.
- Warm the adhesive tape with a heat gun or hair dryer before installation.
- Apply firm and even pressure to the spoiler during installation.
- Water Leaks Around Mounting Holes:
- Apply silicone sealant around the mounting holes to create a watertight seal.
- Ensure the sealant is properly applied and smoothed.
- Check the sealant regularly and reapply if necessary.
- Spoiler Coming Loose:
- Ensure the mounting hardware is properly tightened.
- Use thread locker on the screws or bolts to prevent them from loosening over time.
- If the adhesive tape is failing, remove the spoiler and reapply new tape.
If you’re unable to resolve the issue yourself, consult a professional auto body shop for assistance.
Maintaining Your Kia K5 Spoiler
Proper maintenance will help keep your Kia K5 spoiler looking its best and ensure its longevity. Here are some tips:
- Regular Cleaning: Wash your spoiler regularly with soap and water to remove dirt, dust, and debris.
- Waxing: Apply wax to the spoiler to protect the paint and maintain its shine.
- Inspection: Inspect the spoiler regularly for any signs of damage, such as cracks, chips, or loose mounting hardware.
- Repairing Damage: Repair any damage promptly to prevent it from worsening. Small chips and scratches can be touched up with paint, while larger cracks may require professional repair.
- Avoiding Harsh Chemicals: Avoid using harsh chemicals or abrasive cleaners on the spoiler, as they can damage the paint or finish.
By following these maintenance tips, you can keep your Kia K5 spoiler looking great for years to come.
Aesthetic Enhancements and Aerodynamic Considerations
While most Kia K5 owners install spoilers primarily for aesthetic reasons, it’s worth considering the potential aerodynamic benefits, however subtle they may be. A properly designed and installed spoiler can reduce lift and improve stability at higher speeds. This is achieved by disrupting the airflow over the rear of the car, creating downforce. The impact is more noticeable on race cars, but even on a K5, a well-chosen spoiler can contribute to a more planted feel at highway speeds.
However, it’s essential to choose a spoiler that complements the car’s overall design and doesn’t negatively impact fuel economy. A poorly designed or oversized spoiler can create excessive drag, which can reduce fuel efficiency. Consider the spoiler’s shape, size, and angle of attack to ensure it provides the desired aesthetic and aerodynamic benefits without compromising fuel economy.
Professional Installation vs. DIY: Making the Right Choice
Deciding whether to install a spoiler yourself or hire a professional depends on your skills, experience, and comfort level. If you’re comfortable working with tools, have some experience with automotive modifications, and are meticulous about details, you may be able to successfully install a spoiler yourself. However, if you’re unsure about any aspect of the installation process, it’s best to leave it to a professional.
Professional installation offers several advantages:
- Expertise: Professionals have the knowledge and experience to install spoilers correctly and efficiently.
- Proper Tools: Professionals have access to specialized tools that can ensure a precise and secure installation.
- Warranty: Professional installations often come with a warranty, providing peace of mind in case of any issues.
- Time Savings: Professional installation can save you time and effort.
While professional installation may cost more than DIY, it can be worth the investment, especially if you’re not confident in your abilities. A poorly installed spoiler can be costly to repair and may even damage your car.
Choosing the Right Spoiler Style for Your K5
Selecting the right spoiler style is crucial to achieving the desired look for your Kia K5. Consider the following factors when making your choice:
- Your Personal Style: Choose a spoiler that reflects your personal taste and complements the overall style of your car.
- The Car’s Trim Level: Consider the trim level of your K5 and choose a spoiler that matches its existing features. For example, a more aggressive wing spoiler may be suitable for a GT model, while a subtle lip spoiler may be a better fit for a lower trim level.
- The Car’s Color: Choose a spoiler that complements the car’s color. You can either match the spoiler to the car’s paint color or choose a contrasting color for a more dramatic look.
- The Spoiler’s Material: Consider the material of the spoiler and choose one that is durable and weather-resistant. ABS plastic and polyurethane are both good choices.
- The Spoiler’s Price: Spoilers range in price from a few hundred dollars to several thousand dollars. Set a budget and choose a spoiler that fits within your price range.
Take your time and carefully consider all of these factors before making your final decision. Research different spoiler styles and manufacturers to find the perfect spoiler for your Kia K5.
Elevating Your K5’s Style
Installing a spoiler on your Kia K5 is a rewarding project that can significantly enhance its appearance and potentially improve its aerodynamics. By following these spoiler install instructions for Kia K5 and taking the time to do the job right, you can achieve a professional-looking and long-lasting result. Remember to prioritize safety, use quality tools and materials, and consult the specific instructions included with your spoiler kit. With a little patience and attention to detail, you can transform your K5 into a head-turning machine.
Now that you’re equipped with the knowledge to install your spoiler, we encourage you to share your experiences and photos in the comments below. Your insights can help other K5 enthusiasts tackle this project with confidence. If you are considering other modifications, explore our guide to performance upgrades for the Kia K5.
